Tips and Tricks for a Seamless Upgrade:
If you’re considering retrofitting your home with a smart home system, you’re not alone. With the rise of home automation, many homeowners are eager to upgrade their homes with the latest technology. This can improve comfort, convenience, and energy efficiency.
With its easy-to-use interface, powerful automation capabilities, wireless smart lighting, and the wide range of compatible devices, Control4 provides an excellent smart home solution. It is ideal for homeowners who are looking to retrofit their homes.
But retrofitting a Control4 smart home can be a complex and challenging project, especially if you’re working with an existing home that may not be equipped for home automation. To help you get started, we’ve put together this ultimate guide for a seamless upgrade.
Step 1: Assess Your Needs and Goals
The first step in retrofitting a Control4 smart home system is to determine what you want your smart home to do. Consider your specific needs and goals, and think about what features you want to incorporate into your home, such as:
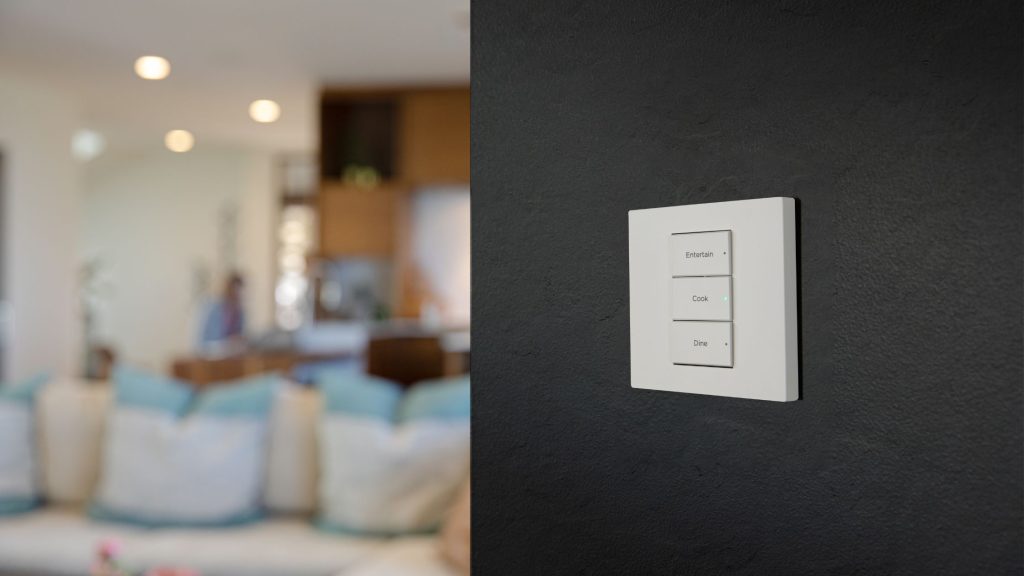
- Smart lighting control
- Smart thermostat control
- Smart security and surveillance
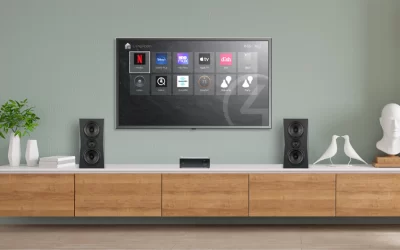
- Smart entertainment systems or a home cinema
- Energy management and monitoring
- Networking and Wifi
Having a clear understanding of your goals and needs will help you choose the right type of system and equipment for your retrofit.
Step 2: Conduct a Home Assessment
Before you start retrofitting your home, it’s important to have a professional Control4 installer or technology architect to assess your home. They will be able to determine the best way to retrofit your home. Moreover, this includes the type of wiring and electrical upgrades you may need to make.
Step 3: Choose the Right Equipment
When choosing Control4 devices and components, it’s important to select equipments that is compatible with your existing electrical system and can be easily integrated into your home’s existing infrastructure. Consider the type of wiring you have, the location of your electrical outlets, and the age of your home when selecting your equipment.
Step 4: Plan the Installation
Once you have assessed your home and chosen the right equipment, it’s time to plan the installation. Work with your technology architect to develop a detailed plan for the retrofit. Obviously, this includes the placement of smart home devices, the routing of wiring, and the installation of control panels and other components.
Step 5: Install the System
With the plan in place, it’s time to install the system. Have a professional Control4 installer install and program the system, following the plan you developed in step 4. They will also be able to customize, test and troubleshoot the system to ensure that it’s working properly.
Step 6: Integrate and Automate
The final step is to integrate your Control4 devices and components into your smart home system, and set up automated tasks and routines that make your home more convenient and efficient. This can include setting up schedules for your smart lights and thermostat, automating your home security and surveillance system, and integrating your entertainment systems for seamless control.

Conclusion
Retrofitting a Control4 smart home can be a complex and challenging project, but it can also provide many benefits, including improved comfort, convenience, and energy efficiency. By following these tips and tricks, you can ensure that your retrofit is a success and that your smart home meets your needs and expectations.
Whether you’re a seasoned DIYer or a homeowner who prefers to leave the work to the pros, retrofitting your home with a smart home system can be a rewarding and exciting project that can help you take your home to the next level. So why wait? Get started today and start enjoying the many benefits of retrofitting a Control4 smart home!
For more tips and best practices, make sure to follow S3 on LinkedIn, Facebook and Instagram.


0 Comments
Trackbacks/Pingbacks